I have been working with Git for the last several years, but in my current position, I am having to do more of the manual work with Git to ensure my commits meet our branch policies when pushing, since my current company has stricter rules on the pipelines. One of the Git activities I’ve found myself doing nearly every week now is to Squash my commits. While initially learning how to do this, I found some resources online that were somewhat helpful, but as with most documentation, it seems the authors assumed some level of basic understanding of Git that I did not possess. I understand it now that I’ve been doing it so frequently, but want to make a concise post about how to squash commits with Git Bash.
What’s in this post
What is a squash commit?
To squash commits means to combine multiple commits into a single commit after the fact. When I code, I do commits every so often as “save points” for myself in case I royally screw something up (which I do frequently) and really want to go back to a clean and working point in my code. Then when it comes time to push to our remote repos, I sometimes have 5+ commits for my changes, but my team has decided that they only want to have squashed commits instead of having all that commit history that probably wouldn’t be useful to anyone after the code has been merged. That is when I need to combine and squash all my commits into a single commit. Squashing is also useful for me because while I am testing my code, I copy any necessary secrets and IDs directly into my code and remove them before pushing, but those IDs are still saved in the commit history so our repos won’t even let me push while that history is there. And squshing the old commits into a single new commit removes that bad history and allows me to push.
How to squash multiple commits
For the purpose of this post, assume I am working with a commit history that looks like this:
613f149 (HEAD -> my_working_branch) Added better formatting to the output
e1f0a67 Added functionality to get the Admin for the server
9eb29fa (origin/main, origin/HEAD, main) Adding Azure role assgmts & display name for DB users
The commit with ID 9eb29fa is the most recently commit on the remote. The two commits above are the ones I created while I was making my code changes, but I need to squash those two into one so that I can push to our remote repo. To do this, I will run the following Git command:
git rebase -i HEAD~2That command indicates that I want to rebase the two commits before HEAD. And the -i indicates that we want to rebase in interactive mode, which will allow us to make changes to commit messages in a text editor while rebasing. When I run the command, Git opens Notepad++ (which is the text editor I specified for Git Bash) with a document that looks like this:
pick e1f0a67 Added functionality to get the Entra Admin for the server
pick 613f149 Added better formatting to the output

# Rebase 9eb29fa..613f149 onto 9eb29fa (2 commands)
#
# Commands:
# p, pick <commit> = use commit
# r, reword <commit> = use commit, but edit the commit message
# e, edit <commit> = use commit, but stop for amending
# s, squash <commit> = use commit, but meld into previous commit
# f, fixup [-C | -c] <commit> = like "squash" but keep only the previous
#                    commit's log message, unless -C is used, in which case
#                    keep only this commit's message; -c is same as -C but
#                    opens the editor
# x, exec <command> = run command (the rest of the line) using shell
# b, break = stop here (continue rebase later with 'git rebase --continue')
# d, drop <commit> = remove commit
# l, label <label> = label current HEAD with a name
# t, reset <label> = reset HEAD to a label
# m, merge [-C <commit> | -c <commit>] <label> [# <oneline>]
#         create a merge commit using the original merge commit's
#         message (or the oneline, if no original merge commit was
#         specified); use -c <commit> to reword the commit message
# u, update-ref <ref> = track a placeholder for the <ref> to be updated
#                       to this position in the new commits. The <ref> is
#                       updated at the end of the rebase
#
# These lines can be re-ordered; they are executed from top to bottom.
#
# If you remove a line here THAT COMMIT WILL BE LOST.
#
# However, if you remove everything, the rebase will be aborted.
The first comment in the document # Rebase 9eb29fa..613f149 onto 9eb29fa (2 commands) gives an overview of what the command is doing. We’re rebasing the three listed commits onto the most recent commits that’s on the remote, which will give us one new commit after that remote commit in the place of the two we currently have.
To rebase these commits, I will change the top two lines of that document to:
pick e1f0a67 Added functionality to get the Entra Admin for the server
squash 613f149 Added better formatting to the output
No matter how many commits you are squashing, you always want to leave the command for the first command in the list as “pick” and then every other commit needs to be changed to “squash”. Once you have made that change, save the file and close it. Once you close that document, it will open another text document containing the previous commit messages, giving you an opportunity to amend them. This is what my commit messages look like when the document pops up:
# This is a combination of 2 commits.
# This is the 1st commit message:
Added functionality to get the Entra Admin for the server
# This is the commit message #2:
Added better formatting to the output
# Please enter the commit message for your changes. Lines starting
# with '#' will be ignored, and an empty message aborts the commit.
#
# Date: Fri Jul 12 11:11:10 2024 -0600
#
# interactive rebase in progress; onto 9eb29fa
# Last commands done (2 commands done):
# pick e1f0a67 Added functionality to get the Entra Admin for the server
# squash 613f149 Added better formatting to the output
# No commands remaining.
# You are currently rebasing branch 'my_working_branch' on '9eb29fa'.
#
# Changes to be committed:
# modified: file1.py
# modified: file2.py
# new file: file3.py
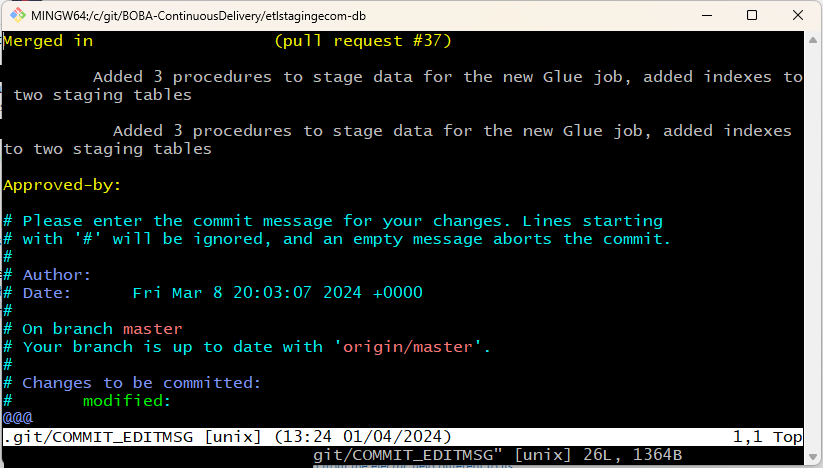
#I will change the file to the following so that I have a single, concise commit message (although I would make it more detailed in real commits):
Updated the files to contain the new auditing functionality.

# Please enter the commit message for your changes. Lines starting
# with '#' will be ignored, and an empty message aborts the commit.
#
# Date:      Fri Jul 12 11:11:10 2024 -0600
#
# interactive rebase in progress; onto 9eb29fa
# Last commands done (2 commands done):
#    pick e1f0a67 Added functionality to get the Entra Admin for the server
#    squash 613f149 Added better formatting to the output
# No commands remaining.
# You are currently rebasing branch 'my_working_branch' on '9eb29fa'.
#
# Changes to be committed:
#	modified:   file1.py
#	modified:   file2.py
#	new file:   file3.py
#
Once you’ve updated your commit messages as you would like, save and close the file and then push the changes like you normally would. If you would like to confirm and review your changed commits, you can use git log --oneline to see that the log now reflects your squashed commit instead of what it had previously.
Note: One important standard of doing rebasing with Git is that you should not rebase changes that have already been pushed to a public or remote repo that others are using. It’s bad practice with Git to try to rewrite shared history, since keeping that history is the whole point of Git and version control. Try to stick to the custom of only doing rebasing with your own local changes.
Summary
In this post, I covered the basics of how to perform a squash commit of multiple commits using Git Bash. If this tutorial helped you, please let me know in the comments below. If you would like to read more of the details about what rebasing means, please refer to the Git documentation.
Sources
- StackOverflow – How do I squash my last N commits together?
- FreeCodeCamp – Git Squash Commits – Squashing the Last N Commits into One Commit