Note: I am NOT sponsored in any way for this post. Everything contained in this post is my honest opinion and review of the software.
For about a month now, I have been working with a new software for taking notes for my blog as well as personal learning projects, and I have really been loving the tool so thought I would share it and how I get the best use out of it. The tool I am now using is called Obsidian, and it has turned out to be a very simple but useful software for taking notes of any kind for any subject.
What’s in this post:
- What I was using before and why I switched
- What is Obsidian?
- How I organize my notes
- How I save my notes
- Other features
- Pros of Obsidian
- Cons of Obsidian
- Conclusion
What I was using before and why I switched
Before I made the switch to Obsidian, I was using good old OneNote, the built-in Microsoft note taking software. That worked well enough for me for several months, but I eventually decided to make the switch from it because I was really disliking the organization and look of OneNote and was finding it hard to customize the formatting of my text in the way that I wanted. OneNote has predefined styles for headings, plain text, and code snippets, and I wasn’t liking those options anymore. In previous versions of OneNote, I swear I was able to customize the styles to my liking, but the version I had been working with before switching to Obsidian did not allow that. Plus, I was really just finding the whole app a bit ugly and outdated looking, so I started the search for a new tool.
In my search of note taking options, there were a lot of different apps that gave the customization I wanted, but they usually required a subscription to use them for more than a few simple notes, and I am adamant right now that I don’t want to add another paid subscription to my life. The one really great looking option was Obsidian.
I sat on my research for about a month until I got really tired of the flaws of OneNote, especially the code formatting options since most of the notes I have been taking recently have been with Python. Then I finally downloaded Obsidian and have been using and loving it since.
What is Obsidian?
Obsidian is a markdown-based, text-editor-like note taking tool that is more bare-bones than OneNote but allows you to do a lot more formatting and linking of notes than OneNote is ever going to be capable of. Obsidian even includes a graph features that allows you to look at how all your notes are linked together, which it says can help you visually see how your thoughts are connected.
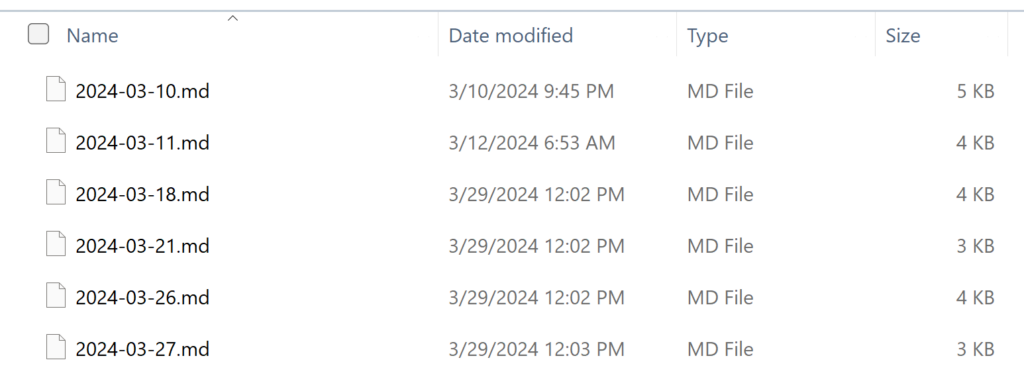
On the back end, your Obsidian Vault (how they refer to what I would call a notebook) is simply a folder structure full of individual markdown (.md) files that each contain one of your pages of notes. Since it is so simple on the back end, it is easy to keep organized and backed up with any software you normally use to backup your local files.
Below are screenshots showing what my Obsidian notebook looks like on my computer in File Explorer, and one screenshot showing what those same notes look like within the Obsidian app.
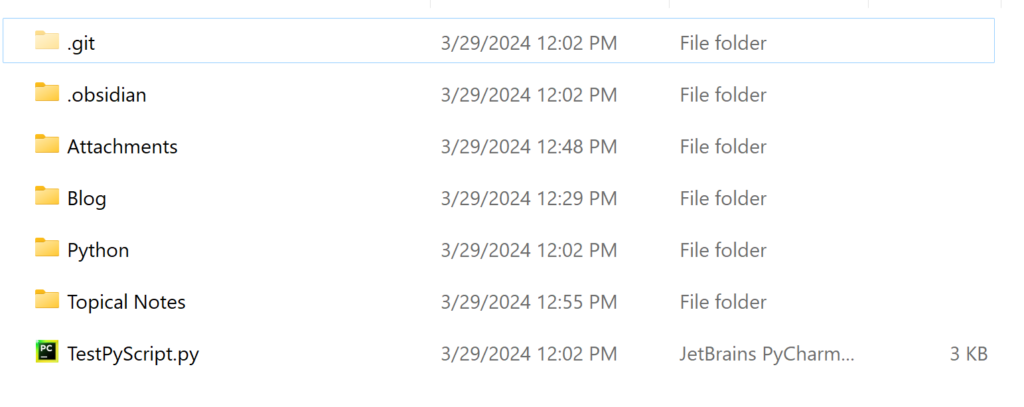

As you can see from the screenshots, it really is just simple files stored on my computer, but those files look much sleeker and more organized within the actual Obsidian app.
It took me a few days to get used to using Obsidian, but I got the hang of it quickly and decided it was going to be my one source of truth for notes going forward. It’s bee nice enough to use that I have even stopped using my physical notebooks for now, which I didn’t think would ever happen (where will I put all of my fun stickers now if not a physical notebook??).
How I organize my notes
As you can see from the screenshots above, I currently have my notebook organized into multiple folders. The most notable are Attachments, Blog, and Topical Notes. The best part of Obsidian is that you are able to customize it to meet your exact needs, so I am only showing how I have mine organized to maybe give others ideas for how they might organize their notes. This organization is very specific to my current needs.
Attachments
I created this folder based on advice I read from others online who use Obsidian as well, and it’s a great way to keep any images you have pasted into your notes organized, due to how Obsidian handles attachments in notes. When you insert an image or screenshot into a note, not only does the image get pasted where you want it to in your note, but that image also gets saved as a separate file into your Vault, at the very top level of the file structure. While that may be fine for others, I was really disliking it due to the number of screenshots I was copying into notes, so the main view of what’s in my notebook was getting very cluttered with all the image files visible at the top level.
(Technically, the image that you see pasted into your notes is just a link to the physical image file, but done in such a way that it appears as if the image is just stored within the text. But since every note page in Obsidian is a markdown file, it cannot store in itself an actual image, so that’s why the links are used.)
So to clean up my vault/notebook a bit, I created the Attachments folder and I copy all image files and other attachments into the folder after pasting them into my notes. It can be a bit annoying at times because I have to move every single image that I paste into the specified folder, but it’s really not that bad and makes the notebook look nicer so I’m happy to do it.
Blog
As you might guess, the Blog folder contains all my notes related to my blog, including drafts of posts that I am working on as well as other pages including lists of tasks I want to accomplish and future goals for the blog. Nothing too crazy in this folder.
Topical Notes
This section is where I put various notes about technology or anything else I am working on learning, when the topic isn’t big enough for its own folder/section but needs to be organized somewhere. Currently, this folder only contains some notes for OLAP data storage & processing as well as Snowflake.
How I save my notes
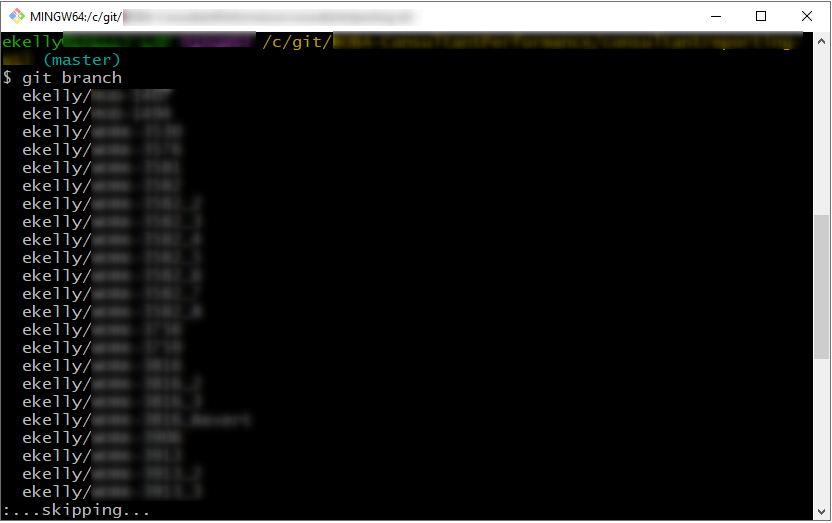
Unless you want to pay for a subscription, you will not have a built-in function for saving your Obsidian Vault to the cloud or have any easy way to sync your files across multiple devices. But thankfully, since everything with the tool is file-based, it is very easy to use an existing cloud storage service you may already have to save and sync your files across devices. One option would be to use OneDrive, another is to use Git and that is the option I am currently using.
To make my notes available to me easily no matter where I may be working, I decided that the best solution for saving my notes off my computer would be to use GitHub, since I already have an account with them. I created a private repository on GitHub and pulled that down to my local and set up Obsidian in that repo. Since creating that, it has been super easy and intuitive for me to save my notes every day by pushing to the remote GitHub repo.
Other Features
One main feature that Obsidian uses as a selling point that I haven’t found useful for my own purposes yet is the Graph View of my notes. The graph view shows you a physical graph (like the data structure) of how your notes are linked to each other. I haven’t found this useful because, while I do link some of my notes occasionally, I am not doing a lot of linking and don’t feel the need to view my notes in essentially a “mind map” format. But others who are more visual thinkers could find it useful. That feature is certainly unique to this software.
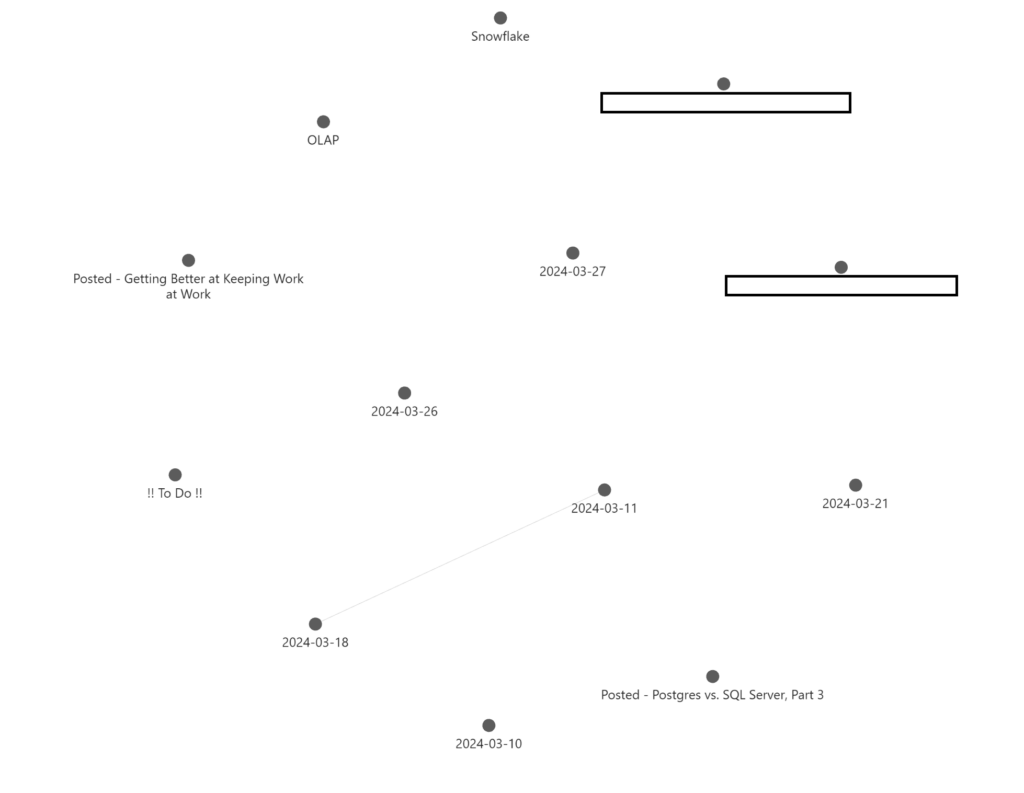
As you can see from that screenshot above, I have hardly done any linking with my notes yet, so the graph view doesn’t show anything useful for me. (FYI the blanked out boxes are for upcoming posts that I didn’t want to leak.)
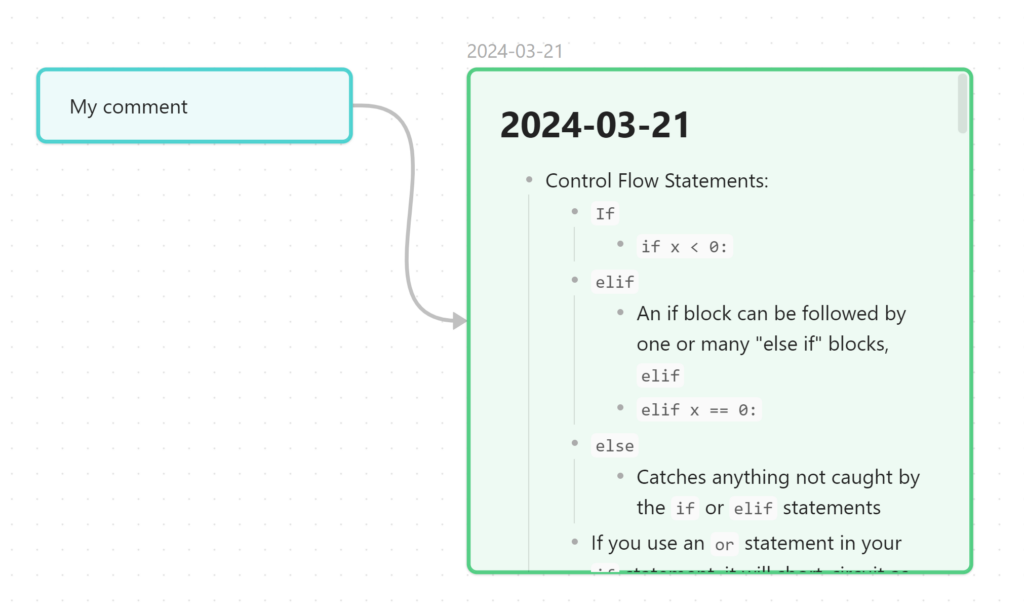
Obsidian also has a feature called Canvas, which I haven’t played around with much, but it seems like a tool that might be nice to help you plan out large projects or any type of work with notes or ideas that connect to each other. The Canvas reminded me a bit of LucidChart, but it seems more focused on helping you organize your thoughts rather than to make flow charts.
Pros of Obsidian
- Works well with code snippets, since it has simple markdown functionality for that style
- If you are a programmer or are just learning code, being able to format the code nicely in your notes is wonderful
- You don’t need to use the mouse to change to code formatting while typing, just use the markdown symbols
- Notes are stored on your own system which makes them as secure as your computer– no need to worry that the company is going to get hacked and compromise your data
- Simple yet robust note-taking features, with just enough styling options to make it personal yet not hard to read
- Modern design and function
- Can use most keyboard styling shortcuts available in other text editing tools (e.g. CTRL+I to make text italic, CTRL + B to make text bold, etc.)
Cons of Obsidian
- Uses markdown styling for all text formatting options, so you need to learn that to be able to style text how you want
- I have been going back to this cheat sheet multiple times to remind me how to do markdown formatting
- Once you get the hang of it, it’s really easy to do all sorts of custom formatting
- Must buy a license if you want to use it for work, even if you’re not the owner of the company
- I would love to be able to use this tool for all my work notes since it’s so customizable yet simple
- The current subscription price for one person is $50 USD per year, which is reasonable, I just don’t want to pay for yet another subscription service right now
- Must manage your own cloud saving and syncing across devices if you don’t want to pay for Obsidian Sync
- Difficult to add color or other text customizations beyond bold & italic to your notes, must use inline HTML to add colors
- Can’t specify your own ordering of notes, will always be placed in alphabetic order
- I think this is the biggest annoyance to me for the most part, sometimes it would be nice to keep your notes in a specific, non-alphabetic ordering
- The easiest way to keep things in the order you want is to use numbers or symbols at the beginning of note names (I put the date at the beginning of each note to keep it organized better, and then put symbols like ! at the beginning of the title for notes I always want at the top of the list)
Conclusion
Obsidian is a great free tool to use for taking organized and useful notes right on your own computer. While there are a few features of the tool that are annoying to use at times, it has more positives than negatives. I would recommend that anyone in a technical field take a chance with Obsidian for their notes solution if they’re looking to try something new and modern.