Month: February 2024 (page 1 of 1)

Why CFTs Take so Long to Delete

Welcome to another coffee break post where I quickly write up something on my mind that can be written and read in less time than a coffee break takes.

Background

Recently, I went through an AWS workshop for Lake Formation, a data lake management tool in AWS, and that workshop had me create many different Cloud Formation Templates (CFTs) to spin up services to use in the workshop. After I finished that, I then had to go through my development AWS account for work and clean up everything that had been created so we stopped paying for these services I no longer needed.

While attempting to delete the many CFTs I had used, I saw one that was seemingly stuck in the DELETE_IN_PROGRESS state for almost 20 minutes. I did not realize it would take so long to delete one CFT and was getting worried that it was actually stuck. So I started searching online to see if this has happened to others as well.

Why does the delete take so long?

I found this Reddit post of someone reporting the same thing, and it linked to a very informative answer to a similar question on Stack Overflow. I would recommend you go and read that detailed answer there for the best understanding of why CFTs sometimes take forever to delete.

The simple answer is that is just how it is. My CFT in question had set up a lot of Virtual Private Clouds (VPCs), Elastic Compute Cloud (EC2) instances, Elastic Network Interfaces (ENIs) as well as other resources, and some of those items simply take awhile to delete.

Even though I can’t speed up the deletion process for these big CFTs, at least now I know that in the future, should I need to delete any other large CFTs from my AWS account, I can expect it might take longer than I would anticipate to complete.

How to Get Public IPv4 DNS for AWS EC2 Instance

I have been trying to learn how to work with AWS Glue because it’s probably going to be a new ETL solution my organization uses as we migrate to Postgres in AWS. Part of learning how to use Glue is learning how to set up and use Postgres RDS instances so that I can move data between them with Glue.

Setting up the RDS instances was the easy part, since AWS makes that process go very smoothly. Even setting up the EC2 jump server to connect locally to my RDS instances seemed like it was easy as well, only a few options to select and then a new server was created for me.

The Problem

However, in my most recent attempt at creating all 3 of these servers (I have to regularly delete what I have while not using it to not incur additional charges), I kept running into an issue where my EC2 server was not being assigned an IPv4 Public DNS address, and without that value, I can’t connect to that server as a jump host on my local computer. That was a big problem for me.

I spent over a half hour trying to troubleshoot this problem, double-checking the VPC rules for DNS and everything I could think of, and none of it was working. I terminated and recreated the instance multiple times and that did not do the trick. Finally I found this Stack Overflow answer that was exactly what I needed, and the fix was super obvious but also hard to see at the same time.

The Solution was Simple

For some unknown reason, the settings that AWS defaulted to when I was creating new instances was to set “Auto-assign public IP” to “Disabled”, and I didn’t catch it at first because that section of the instance creation settings was in a non-editable state by default as well. If you run into this same issue, when you get to the “Network Settings” part of your instance creation dialog and “Auto-assign public IP” is set as Disabled and it looks like there’s no way to change that, click the edit button at the top right of that pane to change the default instance settings. Then Enable the option to assign a public IP address to the instance.

It’s that simple. I can’t believe it took me so long to figure out something so obvious! But that’s life in IT sometimes.

Extra Note

When you stop and then start your EC2 instance again, it will assign a new Public IPv4 DNS name to the instance. It took me longer than I would like to admit to figure this out. I kept having an issue each morning where my SSH tunnels to my RDS databases through this EC2 server would no longer work. After several weeks and trying many different things, I finally figured out that the Public IP address was changing each time I stopped my instance at the end of the work day and restarted it the following day, and that’s what was causing my tunnel to break.

Using the WordPress Local Development Tool to Avoid JSON Errors

When I started my blog a couple months ago, I determined a posting schedule for myself of once a week on Tuesdays. If you are someone who notices details and patterns, you may have noticed that I went a few weeks without posting at the end of December and into January, but it wasn’t for lack of me trying. In this post I’m going to talk about the issues I faced that prevented me from posting and how I finally got a workaround for the problem that has finally allowed me to start posting again.

Background

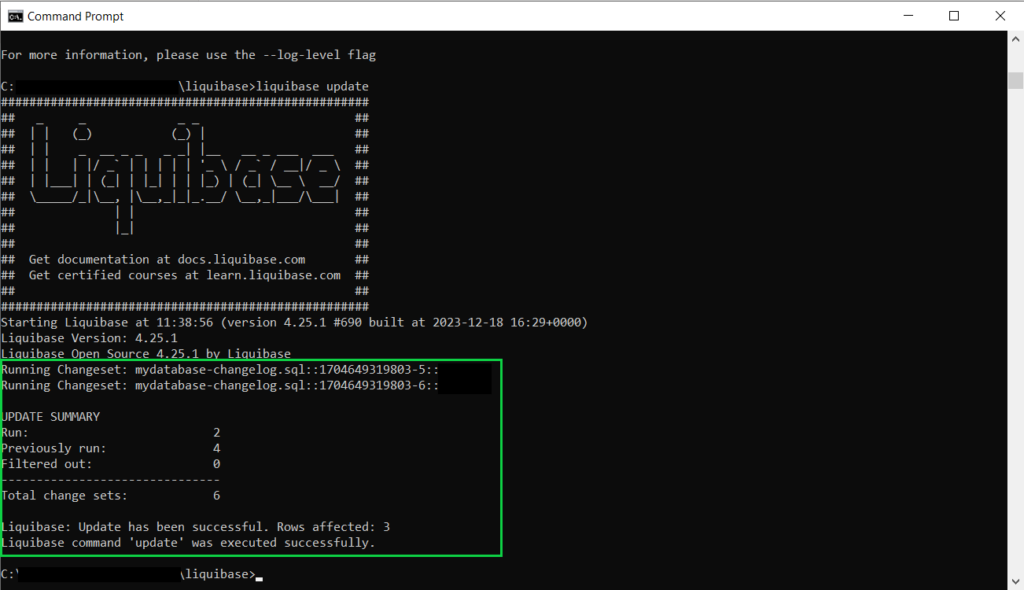
While trying to create and edit my tutorial post about working with Liquibase, I kept running into the same vague JSON error when trying to save drafts, always at the same point. The error was: “Updating failed. The response is not a valid JSON response”.

The point at which it always failed was about midway through the post, either when I copied in text that contained double-quote characters or when I added the first image. I spent several weeks going back and forth with Flywheel (the web host I use) support, trying to figure out what was causing this JSON error when I tried to save a draft.

We tried many different things, including the normal troubleshooting steps of disabling plugins, reverting to the default WordPress theme, disabling all of my browser extensions, trying to work in an incognito window, and several other things. I read so many of the articles online discussing how to resolve this error, and none of those solutions worked. On the Flywheel side, they told me they were trying several different server changes, including extending timeout values and other firewall type changes. I even completely restored my website to default, but not even that worked. And then I had to rebuild everything on my website (except for posts and pages which I exported before restoring).

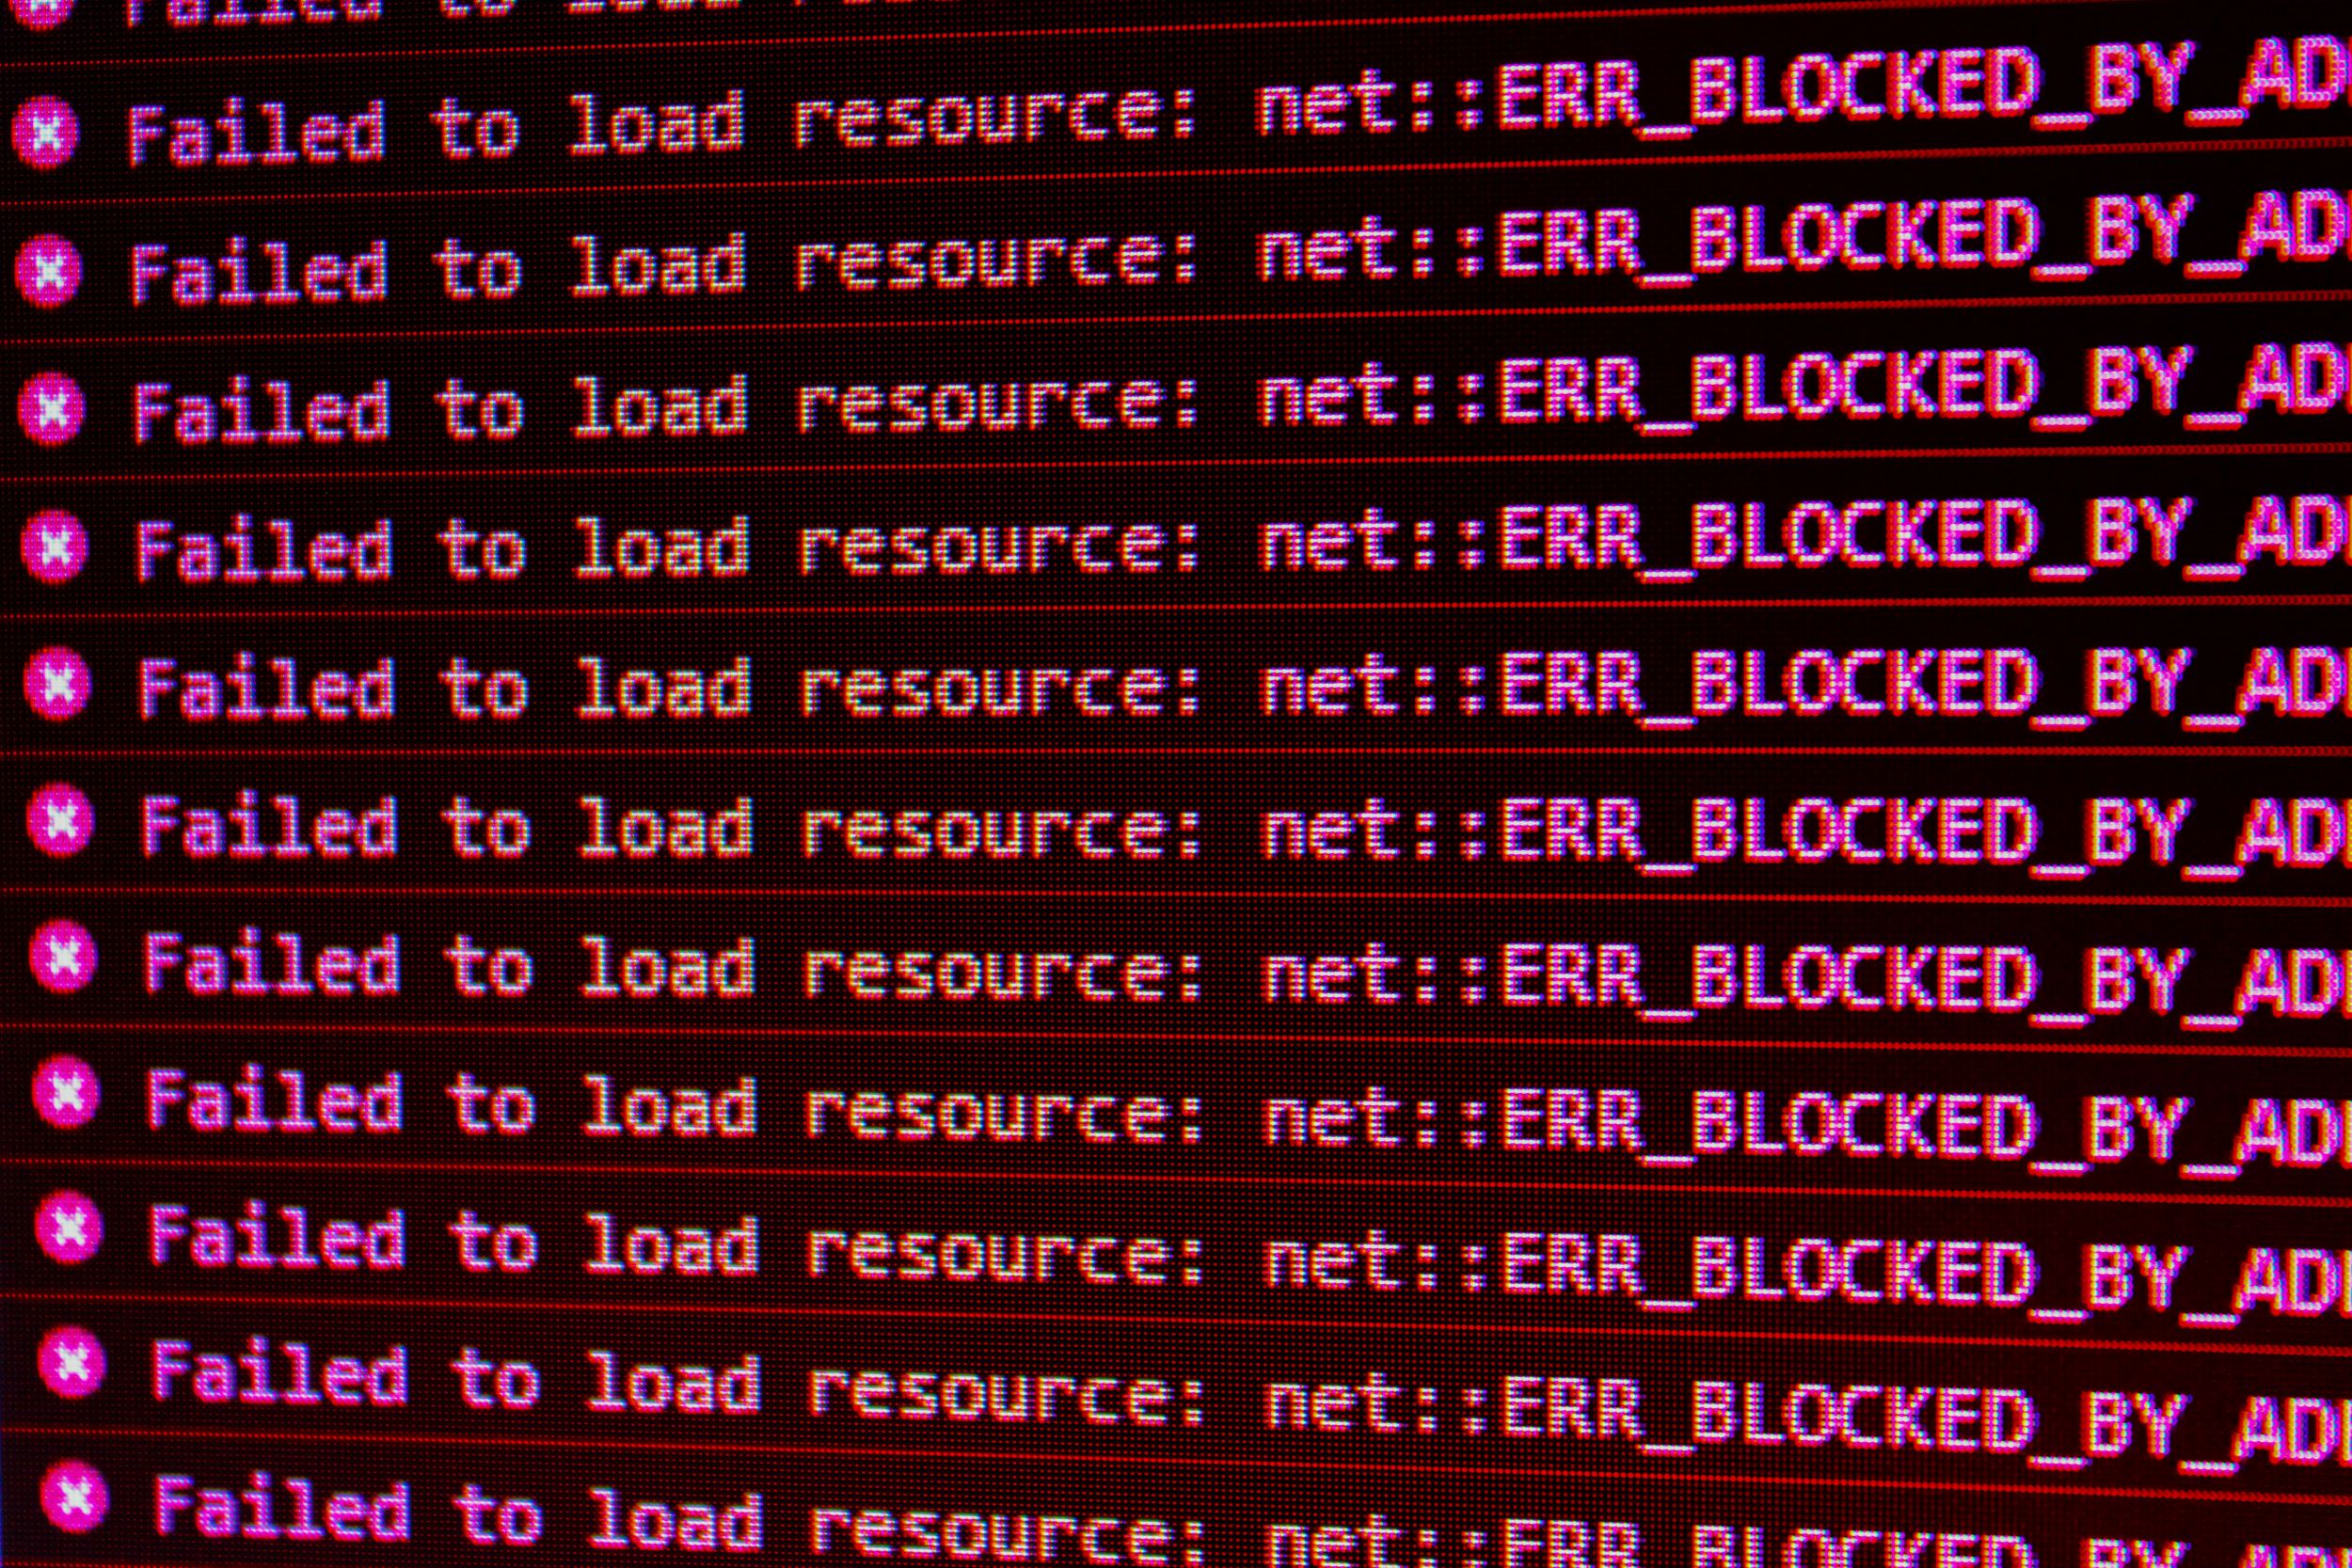
As of the time of writing this, I still don’t officially have a resolution from Flywheel for this error that keeps popping up and generating 403 errors on the backend (I figured that out myself by inspecting what happened when I clicked the “save draft” button). However, thanks to some kind folks on a WordPress forum, I finally figured out a viable workaround that I am actually enjoying using more than the online WordPress admin portal.

The Successful Workaround

The workaround that I am now using, even as I write this, is to use the development tool for WordPress called Local. This tool gives you a local development environment for WordPress that can seamlessly connect with Flywheel and other hosting providers. The setup for the tool was super easy, took me less than 5 minutes. After going through the setup, all I had to do was pull a copy of my site to local and then I have been able to locally edit my website through the tool.

Once you’re done making all your changes, you only need to select to “Push” to your production site, then select which changes you want to be pushed, then it’s quickly sent to your actual production website. It takes a few minutes for Flywheel to update with the changes, but then you can see your locally developed changes on your real site. All without the hassle of the ever-present JSON error when trying to save a draft.

I will be continuing to work with Flywheel to try to resolve the error on my production site, but at least for now, I am able to keep working and posting, back to my normal schedule.

Summary

If you are facing endless errors when trying to create posts for WordPress and you’re hosted with Flywheel, try using the Local tool to develop on your own local machine to see if that helps you in the same way it helped me.

UPDATE

We finally seem to have resolved my issue after going back and forth so many times with the Flywheel support team and continuing to escalate it through all their support levels. I’m not sure if this is what finally resolved the issue as I wasn’t provided any further details, but the last detailed message I received seemed to indicate that something was set up incorrectly with their Web Application Firewall (WAF) that was preventing me from editing. Before getting the issue fixed, I also found that I couldn’t edit the footer of my site because I was also getting 403 errors when trying to save those changes, and that along with my post creation issue has been resolved.

The moral of this update is that if you’re having this same issue and your site is hosted on Flywheel, keep pushing them to try more things on their end, don’t let them say that it must be something with your local environment. They were super great in continuing to try as long as I kept pushing and saying it still wasn’t working. It also seemed to help when I started showing them the exact errors I was getting with the Inspect tool in Chrome so they would have something to work with.

Do DML Statements Work in Liquibase Changesets?

After finishing the blog post last week about how to work with Liquibase, I decided to find the answer to one of the outstanding questions I had about the tool, which was whether or not it allows you to put DML statements in your changelogs and changesets. I couldn’t find any documentation anywhere online about putting DMLs in changesets, so I had to figure it out myself. Finding the answer to this was much easier than I thought it would be since all it involved was adding a DML statement to a changelog, running the Liquibase update statement, and then seeing what happened.

So do DMLs work in Liquibase changesets?

Yes, they do. To prove it, I opened the existing changelog file that I created for last week’s tutorial and I added a new changeset.

Screenshot of text editor containing Liquibase changeset with DML statement to insert into a table

Then I opened the command prompt for Liquibase and ran the normal update statement to get my database aligned with the changelog file.

Screenshot of Liquibase command window showing successful execution of DML changeset

The update statement completed successfully, which I truly was not expecting. Then I had to go into the database to see if that DML statement was actually executed on the DB or not, and it was!

Screenshot of PGAdmin window showing SELECT statement results containing record inserted by DML changeset

I was very excited to see that, because it meant that if my team decided to switch to this tool, we could continue deploying DML scripts alongside any DDL scripts they may be associated with.

Summary

Today’s post is short and sweet. I wanted to see if the Liquibase tool had a key feature I was looking for it to have but couldn’t find documentation about. I was thrilled to see that it does work with DMLs. Such a small but important feature.